
Guide to Installing Toilet Safety Rails
When it comes to household safety, certain areas like the bathroom often pose the most risks due to wet surfaces.
Toilet safety rails, with their primary function to provide stability and support, are becoming indispensable in modern homes.
This guide will walk you through a detailed process of installing them, ensuring you get the optimum benefit from this safety feature.
Importance of Toilet Safety Rails
Bathrooms, especially toilets, are frequently associated with slips and falls. Installing safety rails can significantly mitigate these risks, ensuring that both the elderly and young, as well as those recovering from surgeries or injuries, have the necessary support when they need it most.
Preliminary Preparations
Before embarking on the installation, consider the following:
Selection of Appropriate Rails
Various models, ranging from wall-attached to freestanding, are available. For those who prefer a hassle-free and tool-free installation, OasisSpace offers innovative toilet safety rails that can be easily assembled without the need for any tools. This not only simplifies the process but also ensures robustness and durability.
Assemble Necessary Tools (If Needed)
If you opt for models that require installation, typically, you would need a drill, screws, a level, and a pencil for marking.
Step-by-Step Installation
Ensuring correct installation is crucial for the rails' functionality and longevity. Follow these steps:
Step 1. Determine the Optimal Position
Measure and decide where the rails would offer the most support. Mark these spots lightly with a pencil.
Step 2. Drill the Initial Holes (If Applicable)
At the marked spots, carefully drill pilot holes. These serve as guides for the screws and ensure the rails are positioned accurately.
Step 3. Affix the Rails
Align the brackets of the safety rails over the pilot holes and secure them using screws, if required.
Step 4.Conduct a Stability Test
Once installed, apply some pressure to the rails to test their sturdiness.
Note: The steps provided above apply to the installation of most common toilet safety rails. However, specific models, especially those from OasisSpace, offer tool-free assembly, making the process even simpler. Always refer to the manufacturer's instruction manual or product guidelines for precise installation methods.
Toilet Safety Rails Maintenance Considerations
For prolonged efficacy:
- Regular Cleaning: Dust and moisture can compromise the grip of the rails. Clean them routinely with a mild detergent and a soft cloth.
- Periodic Checks: At regular intervals, examine the screws and fittings to ensure they're still tight and secure.
Safety Recommendations
To derive the maximum benefit from your safety rails:
- Do Not Overburden: While these rails are sturdy, they're designed for support during toilet use only. They should not be used for exercises or other unintended purposes.
- Educate Household Members: Ensure everyone is aware of the rails' purpose and how to use them correctly.
Conclusion
Toilet safety rails serve as a vital safety measure in bathrooms, especially for seniors or individuals with mobility issues.
Brands like OasisSpace are revolutionizing the market by offering tool-free assembly, making safety even more accessible.
Investing in the right rails and ensuring proper installation and maintenance can lead to a significantly safer bathroom environment.
Recommend Products
-
 Sale
Sale
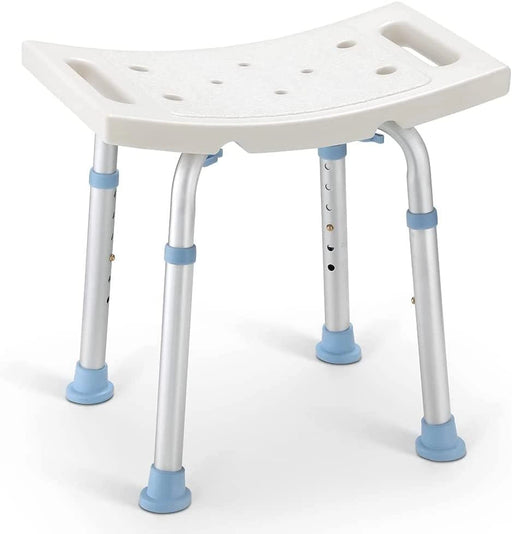
Standard - 300LBS Capacity Shower Stool
Original price $51.99From Original price $29.99Original price $51.99Current price $29.99From $29.99Current price $29.99OasisSpace Medical Square Shower Stool for Bathtub OasisSpace Square Shower Stool for Bathtub is approved as the highest standard(FDA) for medical...
View full detailsSaleOriginal price $51.99From Original price $29.99Original price $51.99Current price $29.99From $29.99Current price $29.99
